


[toc]
Introduction
For this topic, I strongly believe that there is no need for an introduction as you already know what is Git and Azure DevOps, and I am guessing that you need to move your codebase or repositories from one of your organization to another. That is the reason why you are here. I believe that there is no direct way of achieving this, there may be some paid tools which do the tricks, but I didn’t want to pay anything for this small requirement. So let’s just see how I achieved this. Trust me this is not a tough task as it sounds.
Background
I was working with a project and my customer wanted to move the repositories to their Azure DevOps from ours. So before I do it directly with their DevOps, I wanted to try this out. So I created my own Azure DevOps and moved a sample repository to there from my company Azure DevOps.
Move Repositories to Another Organization’s DevOps
Add a User to Both Organization
To start doing this process, you should add a user to both projects. I created a sample user (tester@njanorumalayali.com) and assign the contributor access for the two repositories. If you don’t have permission to do so, please contact your project administrator and get it done. Once that is done, you can download all the codes from your Source Organization repository. To do that it is a good idea to use an SSH connection.
Configure SSH Key
To create one Generate the RSA key pair by running the ssh-keygen command.


Update the SSH Key in Source DevOps and Clone the Repository
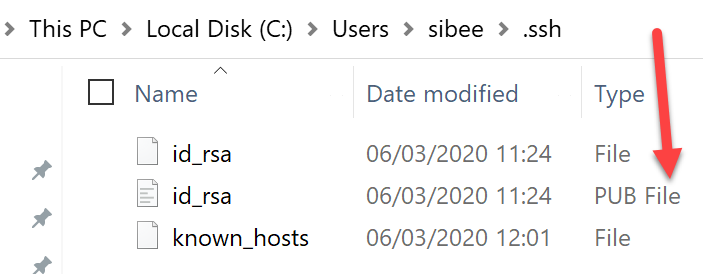
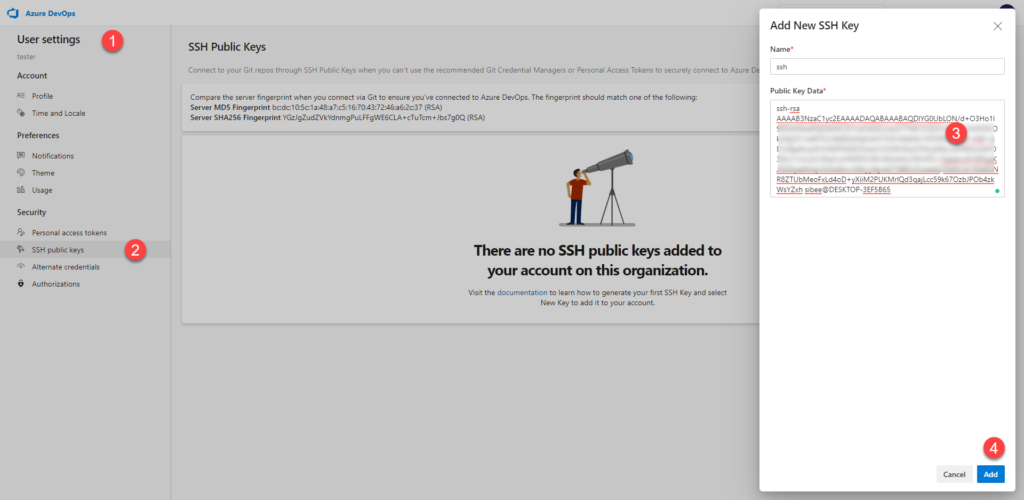
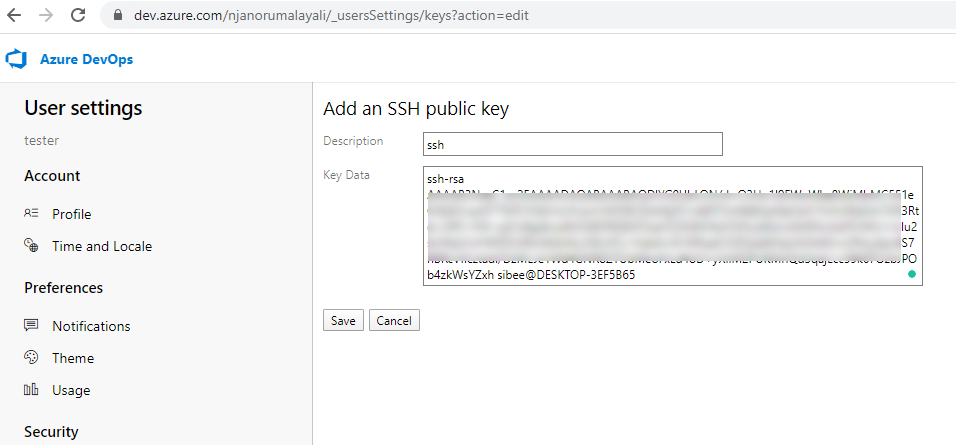
Now go to your source organization and add the Public Key Data under the SSH public keys section. You can find this public key in .ssh folder.

Let’s add a new SSH key now.

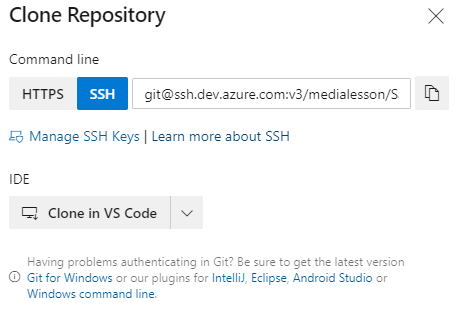
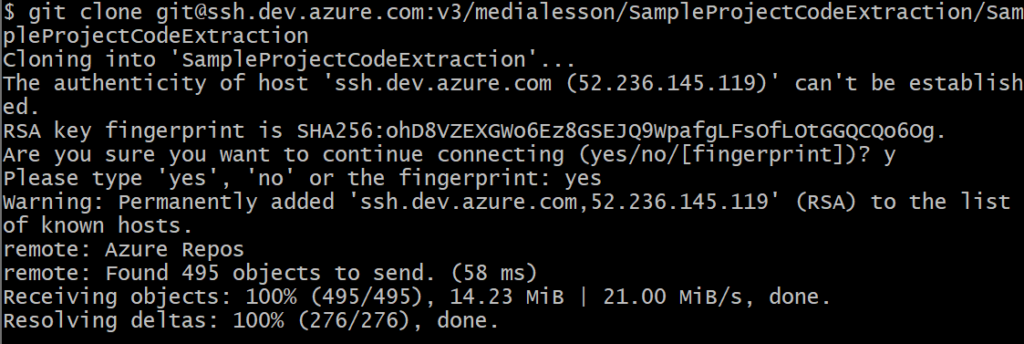
Now we can get the SSH clone URL and clone our repository.

You should get a result as in the preceding image if everything correct.

Check out all the Branches and Tags
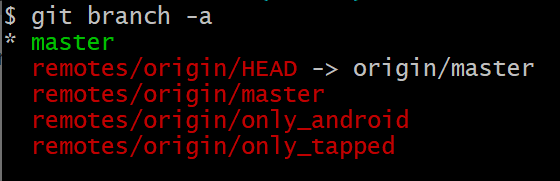
Now let us just go inside of the cloned project and make sure all the branches are available by running git branch -a.

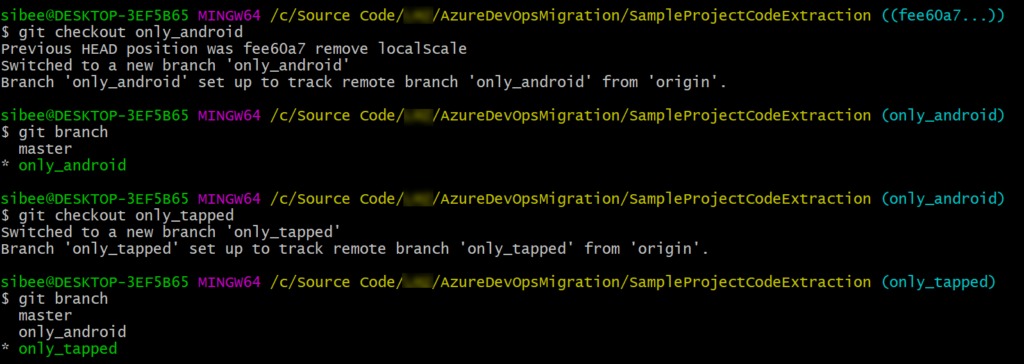
Now it is time to check out all the branches locally so that they can be pushed to our new Organization DevOps. This is really important if you need those branches.

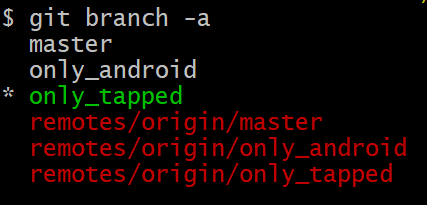
Now fetch all of your tags too by running git fetch --tags. Once that is done you can verify once again whether all the branches are downloaded locally or not.

Update the SSH Key in the Destination DevOps
Follow the same procedure as you did for the source DevOps and update the SSH public key there.

Remove Old and Add New Origin
Now comes the important step. Here we are removing the old Origin and add our new Origin so that we can push all our changes including the branches and tags. So we are going to run the below commands one by one.
git remote rm origin
git remote add origin
git push origin --all
git push --tags


As you can see in the above image, all of our codebases now is been uploaded to the new Azure DevOps. I told you already it is not that hard as it sounds.

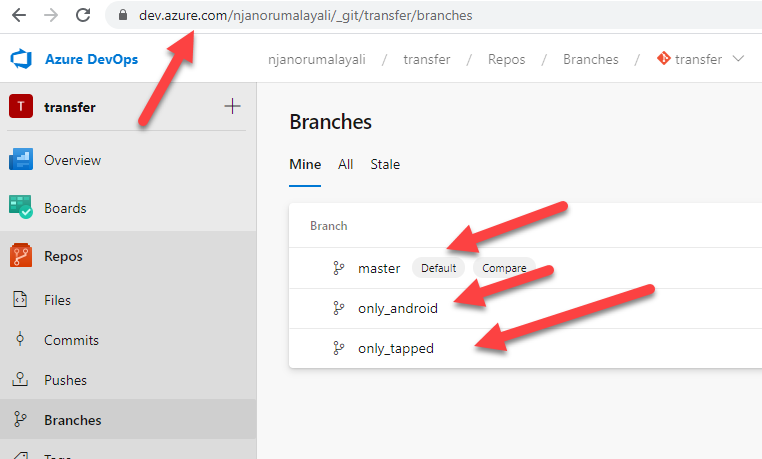
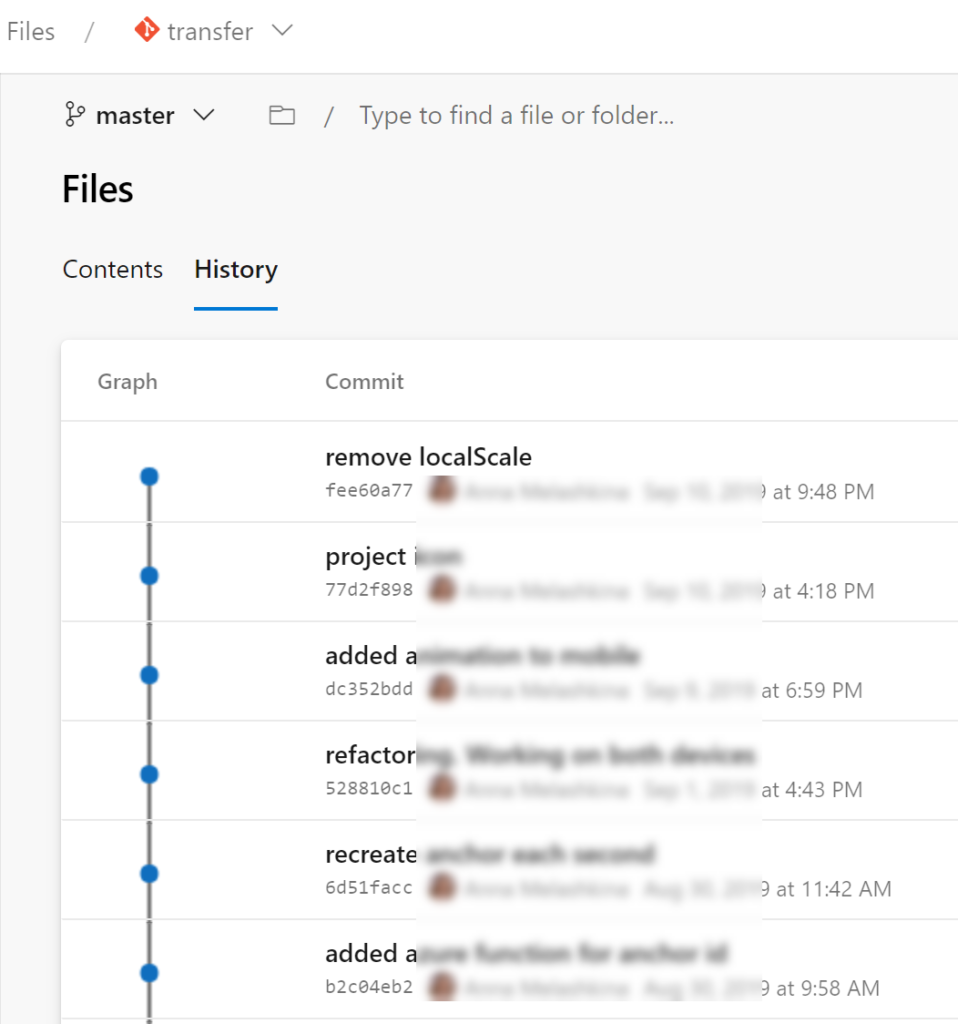
One thing to notice here is that the new repository will contain your branch history too.

Conclusion
Thanks a lot for reading this article. I hope now you have learned about
- the basic git commands
- how to configure SSH connection in Azure DevOps
- how to push the repositories to another DevOps
If you have learned anything else from this article, please let me know in the comment section.
Follow me
If you like this article, consider following me, haha!.
Your turn. What do you think?
Thanks a lot for reading. Did I miss anything that you may think which is needed in this article? Could you find this post useful? Kindly do not forget to share your feedback.
Kindest Regards
Sibeesh Venu