
[toc]
Introduction
For the last few days I was just playing around with my Raspberry PI, it was fun. In this article, we are going to discuss some different scenario. Let’s say I have flashed Raspbian OS to my SD card now I want to access the files. As you know that Raspbian is written on top of Linux Kernal and everything uses Linux Kernal called Linux Distribution, this is just for your information. Now, coming back to the point, I am using the Operating System Windows 1o in my machine, and I will not be able to open the Linux based files in Windows 10 as it cannot identify those file types. Hm, it is expected, and nothing wrong it. But we have a workaround to do that. Here in this article, I will explain the steps you should be followed. Let’s skip the introduction and start doing some amazing things. Let’s just start then.
Background
You can see my article related to Raspberry Pi here. As I said earlier, here we are going to find out how we can access the Raspbian files in our Windows 10 machine. But before you do that, please be sure to go through the prerequisites below.
Prerequisites
- Virtual Box
- A Linux Distribution iso file
- SD card with Raspbian OS
Virtual Box
As the name implies, it is a virtual box where you can install any guest operating system you use. In my case, I wanted to install a Linux Distribution operating system to access my Raspbian OS files. Virtual Box is an open source hosted hypervisor which is currently being developed by the Oracle Corporation. You can download the Virtual Box from here.
A Linux Distribution iso File
You are free to use any distribution you wish, but I wish to go with Ubuntu for now, as I found it is interesting. You can find all the widely used distributions here. Now let’s just download the Ubuntu desktop.
Raspbian Files in Windows 10? Interesting?
Setup Your Virtual Box
Once you download the Virtual Box, you can go ahead and install the same.
Installing VirtualBox
Now you can create the Virtual Machine. You can always do that later as well, but I want to do that now as I don’t want to go through this process later.
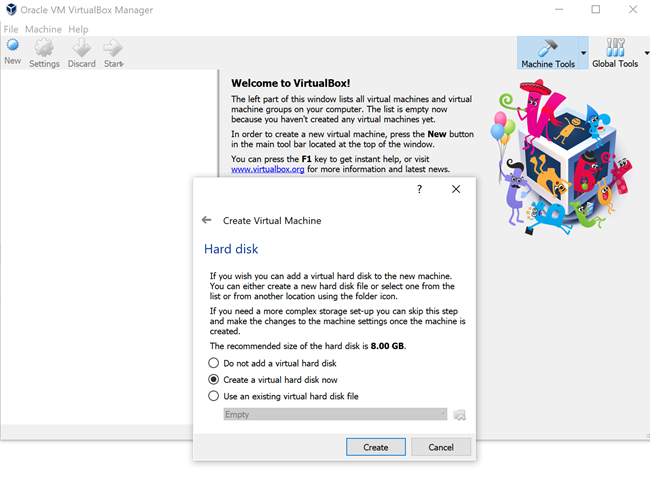
Select Virtual Hard Disk Now
Under the option Storage on the physical hard disk, you should select the dynamically allocated. You can see the hints below.
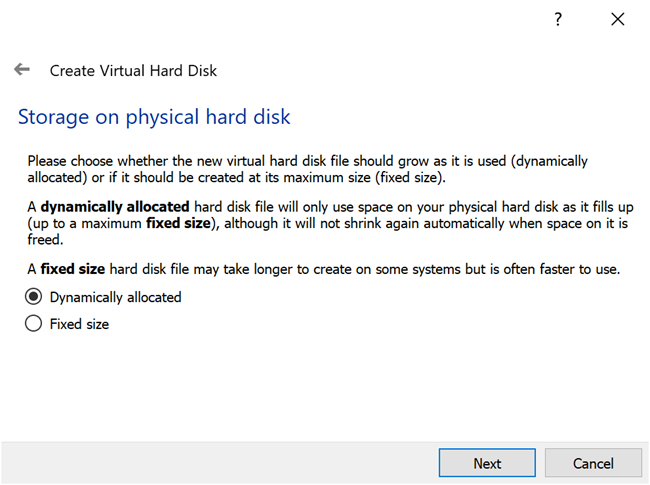
Dynamically Allocated Hard Disk
Under the settings of your Virtual Box, you can see an option Shared folder, now it is time to select a folder which can be shared between your Guest OS and Primary OS. Now let’s just get an error, click on the start button on your Virtual Box.
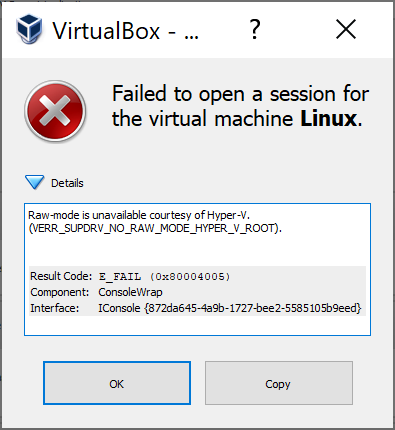
Raw-mode is unavailable courtesy of Hyper-V
I see that you are getting an error as “raw-mode is unavailable courtesy of hyper-v. (verr_supdrv_no_raw_mode_hyper_v_root)”, but the fix to this error is very easy. First, let’s try to understand why it is showing this error, I had installed Docker in my machine, as you know that to work with Docker, we need to enable Hyper-V, so I had enabled the same. Now I need to choose between Docker and Virtual Box, a tough choice. Sorry, Docker, I need to go with Virtual Box now, but I will be back to you soon.
Go to your control panel and turn off Hypervision and Hyper-V from your windows.
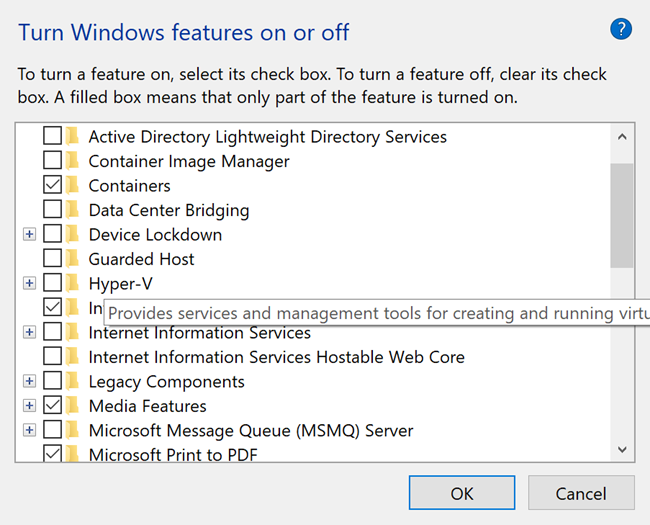
Disable Hyper-V
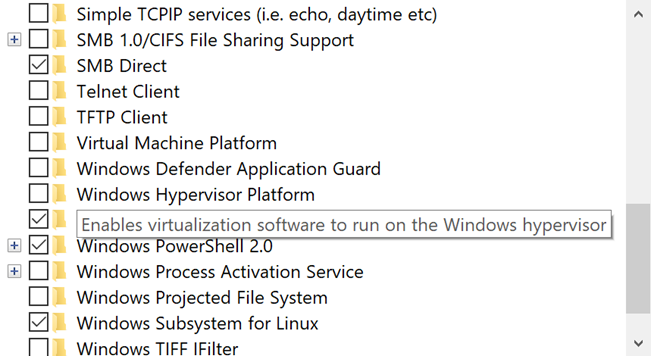
Disable Windows Hypervision
Install Ubuntu in the Virtual Box
Now let’s just click on Start, you will be asked to select the base iso image of your Linux Distribution. I am going to select the Ubuntu iso file which I have downloaded already. If you have chosen the 32-bit operating system and then if you try to use the 64 bit Ubuntu in it, you will get an error as “this kernel requires an x86-64 CPU but only detected an i686 CPU”, so just make sure that you are using the correct one.
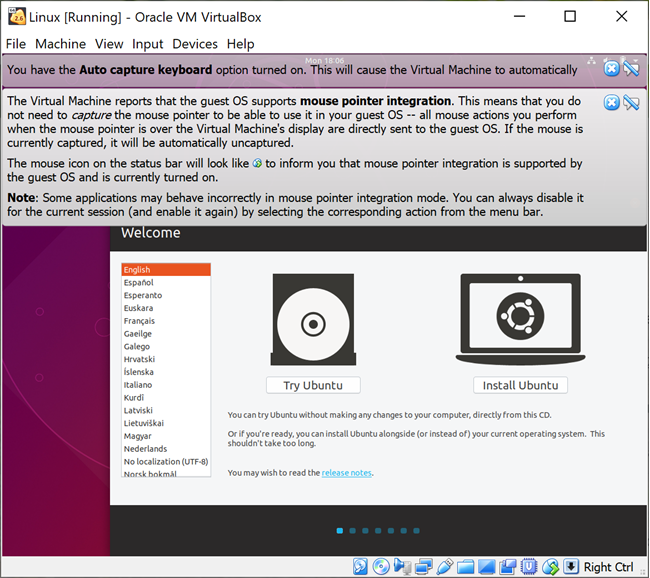
Linux Welcome Message
You have an option to try out the Ubuntu with the iso file you have used before you install it. That is really wonderful, just go around and play with it before you make your decision. The Keyboard and Mouse will be auto-captured.
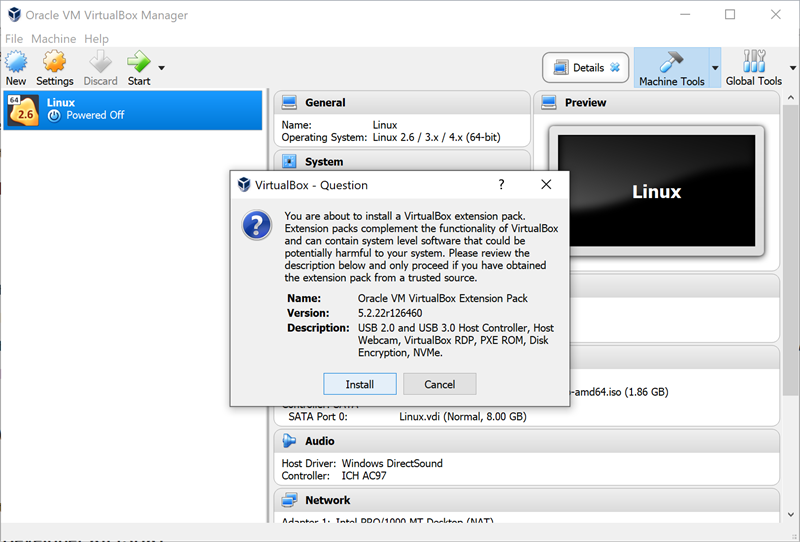
Installing Virtual Extension Pack
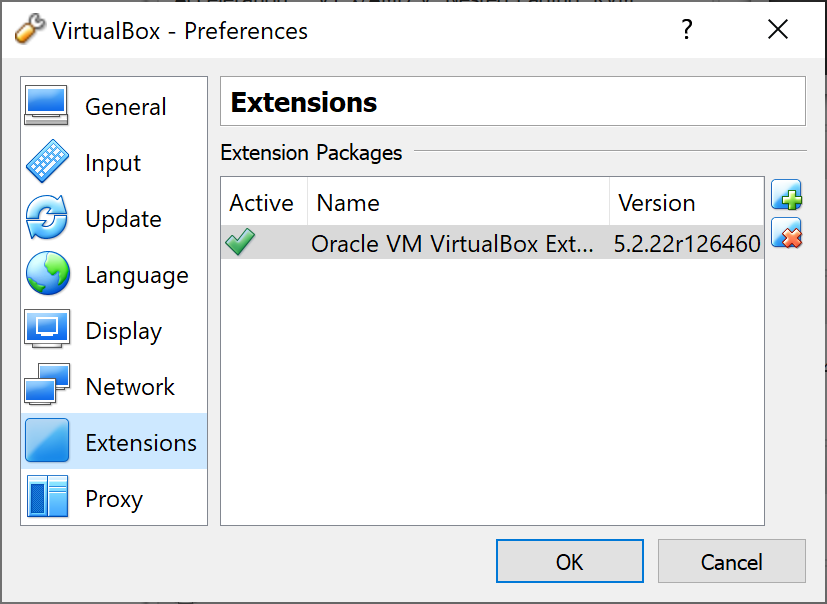
To support the USB 2.0 and 3.0 versions you need to install the Virtual Extension Pack, I installed the 5.2.22 Oracle VM VirtualBox Extension Pack, and you can download it from the Virtual Box download page. Once you download the file, you can directly go ahead and install it, the same will be added to your Virtual Box extensions.
Virtual Extension Pack
You can also go to the File -> Preference -> Extension menu to do the same.
VirtualBox Preferences Extension
Adding SD Card to USB Device Filters
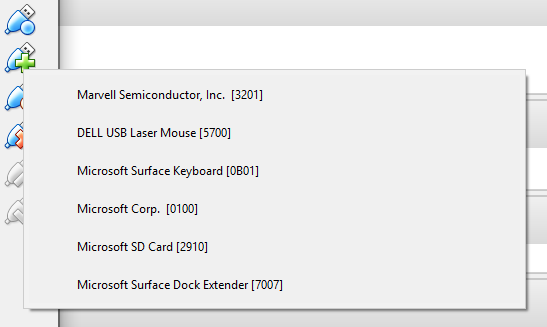
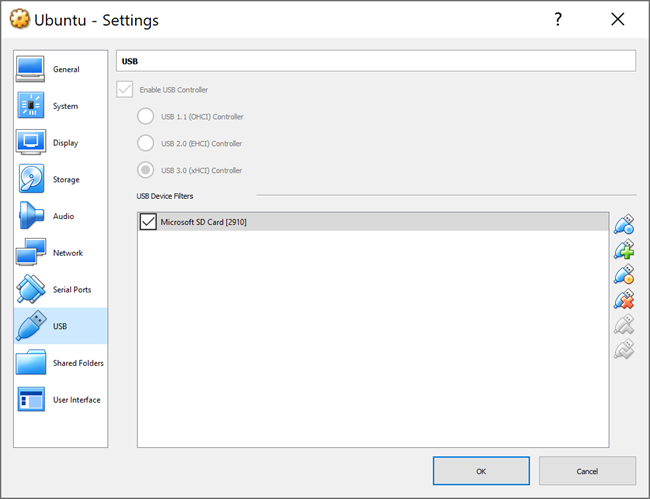
Now it is time to add our SD card to the device filters in our Virtual Box, please go to Settings – > USB -> Click on the Add SD card Attached option.
Add the SD Card Attached
Now you will be able to your SD card in the Filters.
SD Card in Device Filters
Go to your Ubuntu and See the Raspbian Files
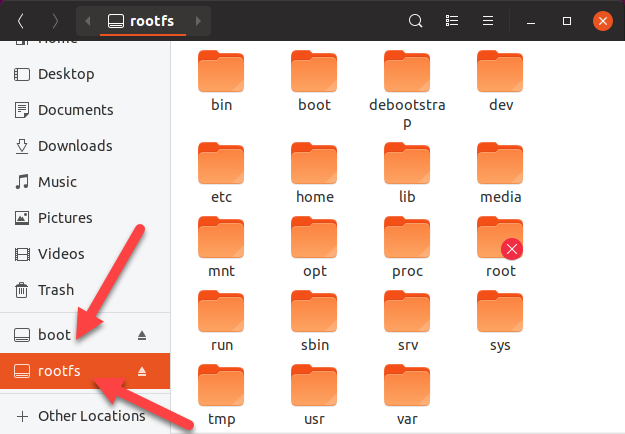
Once you have added your SD card, you should restart your Ubuntu, and login back. Once you are done, you can go to Files and see new options as mentioned in the preceding image.
Raspbian OS Files in Virtual Box
Conclusion
In this article, we have learned how to access your Raspbian files in your windows 10 machine. I really enjoyed playing with the Virtual Box, and now it is time to play with my new Guest OS. Wow, I have two OS in my two hands now. In the next article, we will try to install the Raspbian OS from our Guest OS to our SD card and then add my custom application to it. The basic idea is to do the SD card provisioning with Raspbian OS, which is a very large topic. You can expect a few more articles in this series.
Your turn. What do you think?
Thanks a lot for reading. Did I miss anything that you may think which is needed in this article? Could you find this post as useful? Kindly do not forget to share me your feedback. What are you waiting for? create your model and train.
Kindest Regards
Sibeesh Venu