Linux Azure Function Isolated Dot Net 9 YAML Template Deployment

Introduction
In this post, let’s see how we can deploy a dot net 9 isolated runtime model project to a Linux based Azure function.
Prerequisites
Creating the hosting plan
It is not mandatory to create a hosting plan, as the resource will be auto created when you create the function, however it is recommended to create one as you can define your naming strategies and more controls. Here we are choosing the consumption plan. You can learn more about the hosting options Azure provides here. Below is the ARM template to create the consumption hosting plan.
{
    "type": "Microsoft.Web/serverfarms",
    "apiVersion": "2024-04-01",
    "name": "[parameters('funcAppServerFarmName')]",
    "location": "[parameters('funcAppLocation')]",
    "kind": "functionapp",
    "sku": {
        "name": "Y1",
        "tier": "Dynamic"
    },
    "properties": {
        "computeMode": "Dynamic",
        "reserved": true
    }
}
Creating the Azure function
Below is the ARM template to create the Azure function.
{
    "type": "Microsoft.Web/sites",
    "apiVersion": "2024-04-01",
    "name": "[parameters('FuncName')]",
    "location": "[parameters('funcAppLocation')]",
    "kind": "functionapp,linux",
    "identity": {
        "type": "SystemAssigned"
    },
    "properties": {
        "reserved": true,
        "alwaysOn": true,
        "serverFarmId": "[resourceId('Microsoft.Web/serverfarms', parameters('funcAppServerFarmName'))]",
        "linuxFxVersion": "DOTNET-ISOLATED|9.0",
        "siteConfig": {
            "linuxFxVersion": "DOTNET-ISOLATED|9.0",
            "appSettings": [
                {
                    "name": "AzureWebJobsStorage",
                    "value": "[format('DefaultEndpointsProtocol=https;AccountName={0};EndpointSuffix={1};AccountKey={2}', parameters('StorageName'), environment().suffixes.storage, listKeys(resourceId('Microsoft.Storage/storageAccounts', parameters('StorageName')), '2022-05-01').keys[0].value)]"
                },
                {
                    "name": "APPINSIGHTS_INSTRUMENTATIONKEY",
                    "value": "[reference(resourceId('Microsoft.Insights/components', parameters('InsightsComponentName')), '2020-02-02').InstrumentationKey]"
                },
                {
                    "name": "FUNCTIONS_EXTENSION_VERSION",
                    "value": "~4"
                },
                {
                    "name": "FUNCTIONS_WORKER_RUNTIME",
                    "value": "dotnet-isolated"
                },
                {
                    "name": "linuxFxVersion",
                    "value": "DOTNET-ISOLATED|9.0"
                },
                {
                    "name": "WEBSITE_USE_PLACEHOLDER_DOTNETISOLATED",
                    "value": "1"
                },
                {
                    "name": "CosmosConnectionString",
                    "value": "[concat('@Microsoft.KeyVault(SecretUri=', 'https://',parameters('KeyVaultName'),'.vault.azure.net/secrets/CosmosConnectionString)')]"
                }
            ],
            "minTlsVersion": "1.3"
        },
        "runtime": {
            "name": "dotnet-isolated"
        },
        "httpsOnly": true
    },
    "dependsOn": [
        "[resourceId('Microsoft.Insights/components', parameters('InsightsComponentName'))]",
        "[resourceId('Microsoft.Web/serverfarms', parameters('funcAppServerFarmName'))]",
        "[resourceId('Microsoft.Storage/storageAccounts', parameters('StorageName'))]"
    ]
}
Please make sure to set the values linuxFxVersion, WEBSITE_USE_PLACEHOLDER_DOTNETISOLATED or you may get the error below when you deploy your code to the Azure function.
Failed to sync triggers for function app ‘funcsintest03’. Error: BadRequest – Encountered an error (BadGateway) from host runtime. (CODE: 400)
I have a detailed post on the error here on Stack Overflow. Here is a doc on Automate resource deployment for your function app in Azure Functions.
Create Azure function application
You can easily create the Azure function using the Visual Studio by following this post. Please be noted that for my Azure function I am choosing my function to run in an isolated worker process to get the benefits like standard dependency injection, you can read more on this here.
Create the Azure DevOps pipelines
Before we create the pipelines, let’s create the template YAML with the file name as func-template.yml so that we can use it for all of our environments like Dev, Test, Prod etc.
parameters:
  - name: azureSubscriptionServiceConnection
    type: string
  - name: functionAppName
    type: string
  - name: stageName
    type: string

stages:
  - stage: ${{ parameters.stageName }}_Stage
    displayName: Release stage ${{ parameters.stageName }}
    jobs:
      - job: ${{ parameters.stageName }}_Release
        displayName: ${{ parameters.stageName }}_Release
        pool:
          vmImage: "ubuntu-latest"
        steps:
          # Download an artifact named 'WebApp' to 'bin' in $(Build.SourcesDirectory)
          - task: DownloadPipelineArtifact@2
            inputs:
              artifactName: "drop"
              targetPath: $(Build.SourcesDirectory)/bin
          - task: AzureFunctionApp@2 # Add this at the end of your file
            inputs:
              azureSubscription: ${{ parameters.azureSubscriptionServiceConnection }}
              appType: functionAppLinux # This specifies a Linux-based function app
              #isFlexConsumption: true # Uncomment this line if you are deploying to a Flex Consumption app
              appName: ${{ parameters.functionAppName }}
              package: $(Build.SourcesDirectory)/bin/*.zip
              deploymentMethod: "zipDeploy" # 'auto' | 'zipDeploy' | 'runFromPackage'. Required. Deployment method. Default: auto.
              #Uncomment the next lines to deploy to a deployment slot
              #Note that deployment slots is not supported for Linux Dynamic SKU
              #deployToSlotOrASE: true
              #resourceGroupName: '<RESOURCE_GROUP>'
              #slotName: '<SLOT_NAME>'
              runtimeStack: 'DOTNET-ISOLATED|9.0'
Here we use the task AzureFunctionApp@2 task, you can learn more about that task here. Next, create a YAML file func-template.yml with the contents below.
trigger:
  - main
stages:
  - stage: Build
    displayName: Build and push stage
    jobs:
      - job: Build
        displayName: Build
        pool:
          vmImage: "ubuntu-latest"
        steps:
          - task: UseDotNet@2
            inputs:
              packageType: "sdk"
              version: "9.0.x" # .NET 9 preview/stable depending on your needs
              installationPath: $(Agent.ToolsDirectory)/dotnet
          - checkout: self
          - script: |
              dotnet restore
              dotnet build --configuration Release
          - task: DotNetCoreCLI@2
            inputs:
              command: publish
              arguments: "--configuration Release --output publish_output"
              projects: "$(System.DefaultWorkingDirectory)/MyFunc.Func/MyFunc.Func.csproj"
              publishWebProjects: false
              modifyOutputPath: false
              zipAfterPublish: false
          - task: ArchiveFiles@2
            displayName: "Archive files"
            inputs:
              rootFolderOrFile: "$(System.DefaultWorkingDirectory)/publish_output"
              includeRootFolder: false
              archiveFile: "$(System.DefaultWorkingDirectory)/build$(Build.BuildId).zip"
          - task: PublishBuildArtifacts@1
            inputs:
              PathtoPublish: "$(System.DefaultWorkingDirectory)/build$(Build.BuildId).zip"
              artifactName: "drop"

  - template: func-template.yml
    parameters:
      azureSubscriptionServiceConnection: "MyFuncdevmi"
      functionAppName: "MyFuncfuncsindev03"
      stageName: "DEV"
  - template: func-template.yml
    parameters:
      azureSubscriptionServiceConnection: "MyFunctestmi"
      functionAppName: "MyFuncfuncsintest03"
      stageName: "TEST"
In the above YAML file, my function project name is MyFunc and I am using the MyFuncdevmi as the service connection to deploy the Azure function to the DEV environment MyFuncfuncsindev03 and MyFunctestmi to deploy to my TEST environment MyFuncfuncsintest03.
I am using managed identity to create those service connection. You can create a managed identity using the ARM template below.
{
    "type": "Microsoft.ManagedIdentity/userAssignedIdentities",
    "apiVersion": "2024-11-30",
    "name": "[parameters('managedIdentityName')]",
    "location": "[parameters('location')]",
    "tags": {
        "{customized property}": "string"
    }
}
You can follow this doc to create the service connection using the managed identity.
Create the pipeline using the YAMLs created
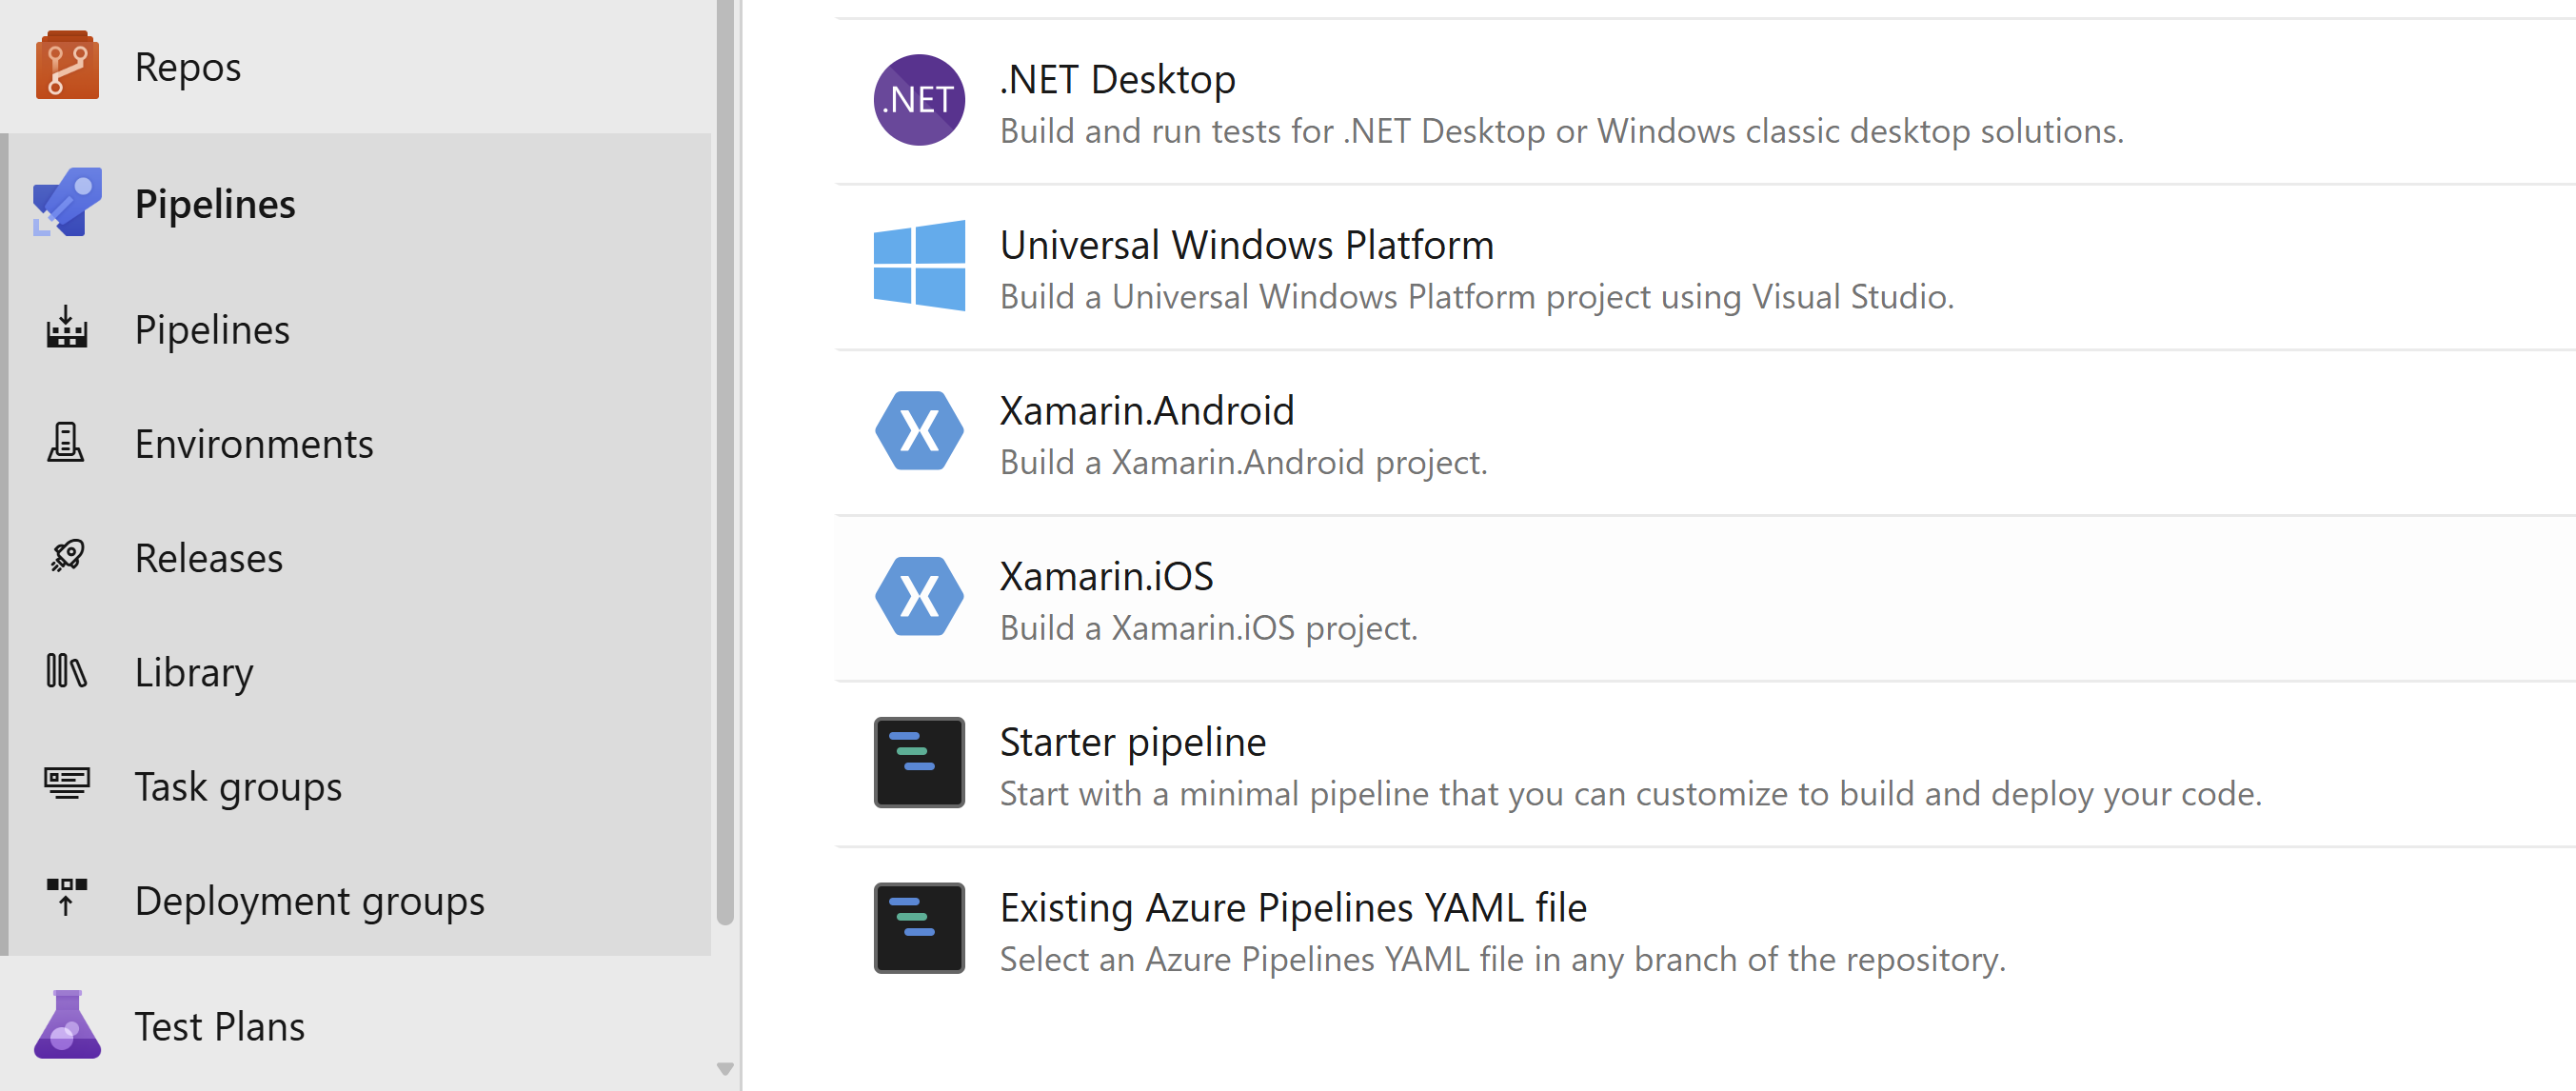
Go to the Pipeline menu and click on New pipeline button. Select your Azure DevOps repository and click on the option Existing Azure Pipelines YAML file.
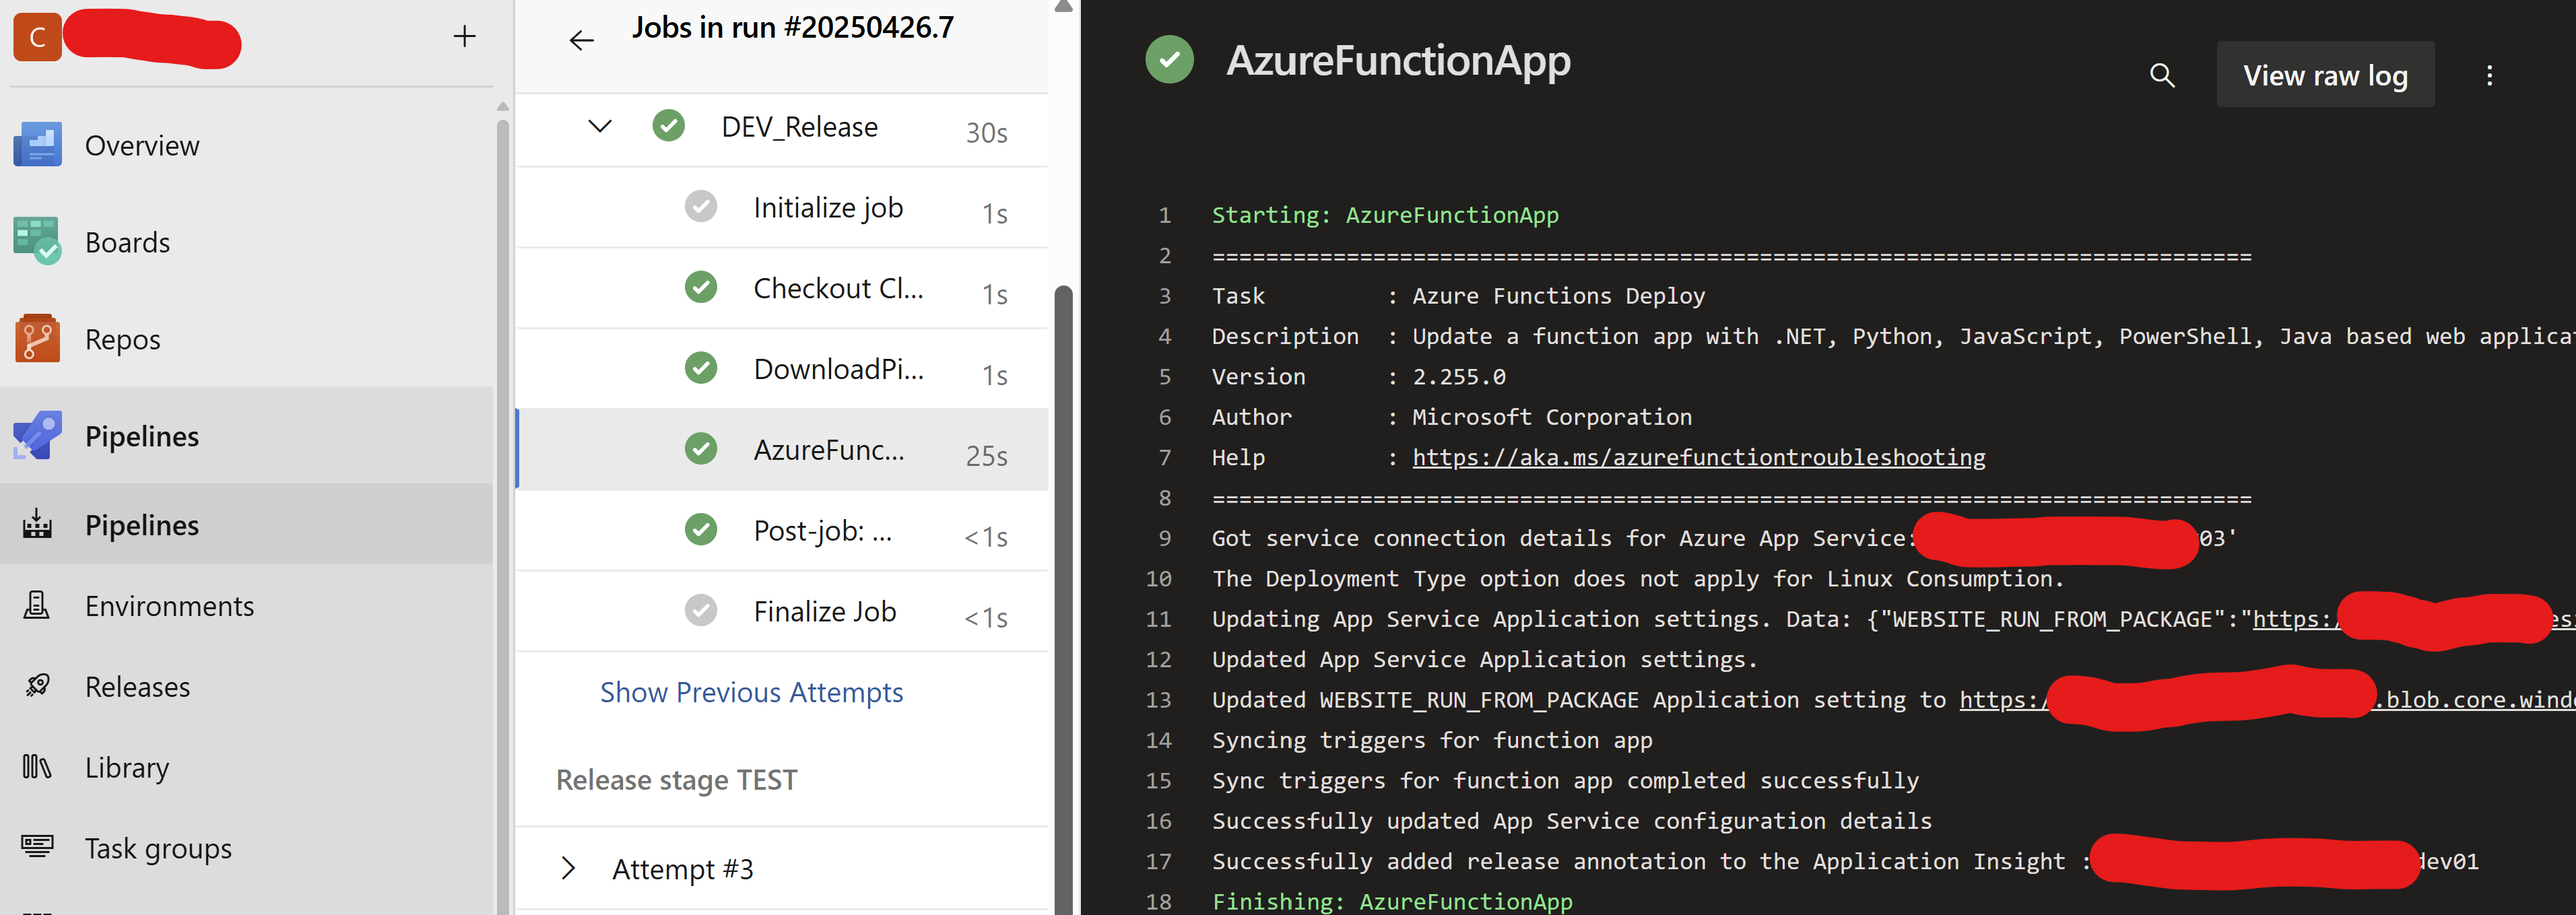
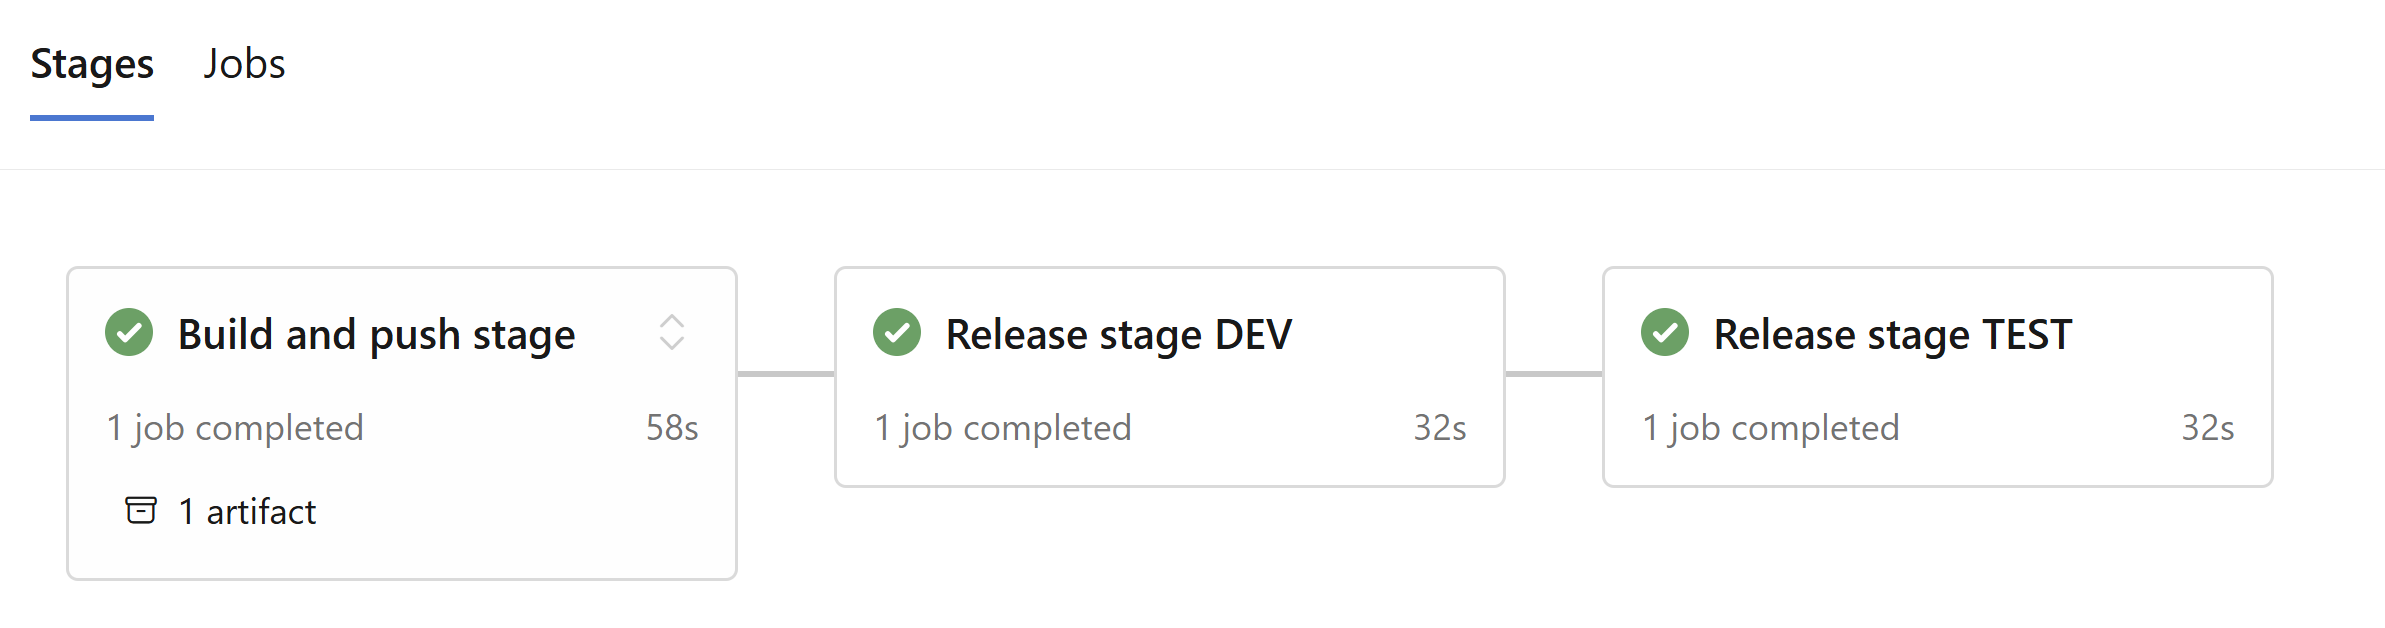
Choose the path to your release pipeline YAML file, not the template YAML file, and run your pipeline. If your pipeline is successful, you should be able to see the output as below.
Conclusion
In this post we have learned how to,
- create the Azure function and consumption hosting plan with dotnet isolated worker process
- create the temple for the deploying the Azure function
- create the release YAML using the template file
About the Author
I am yet another developer who is passionate about writing and sharing knowledge. I have written more than 500 blogs on my blog. If you like this content, consider following me here,
Your turn. What do you think?
Thanks a lot for reading. Did I miss anything that you may think is needed in this article? Could you find this post useful? Kindly do not forget to share your feedback.